


These pictures accompany the story about the building of our deck. I was too unmotivated to integrate them with the story itself.
|
|
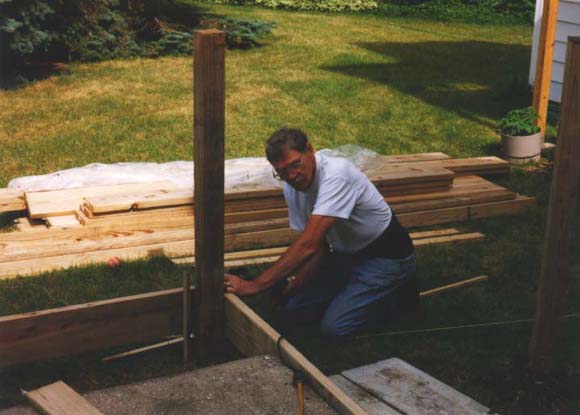
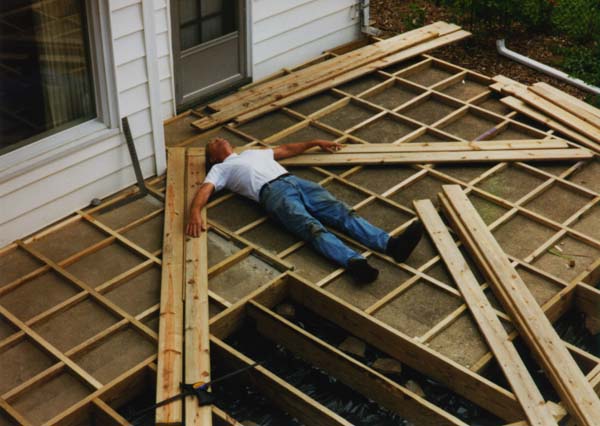
| My dad was my frustrated and weary helper for this adventure. He complains a lot, but he works cheap. :-) He's dedicated, too. Notice how he keeps working even though I'm running around taking pictures. |
|
|
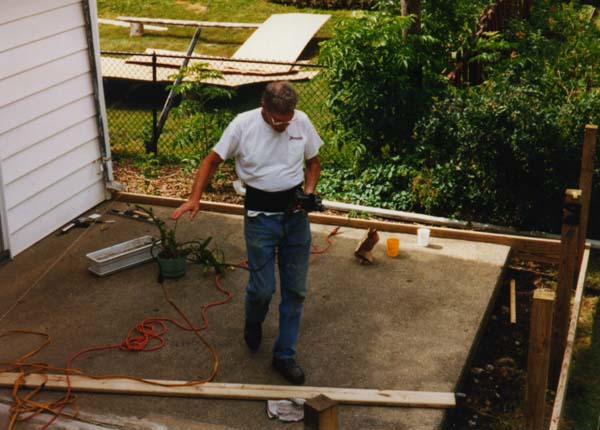
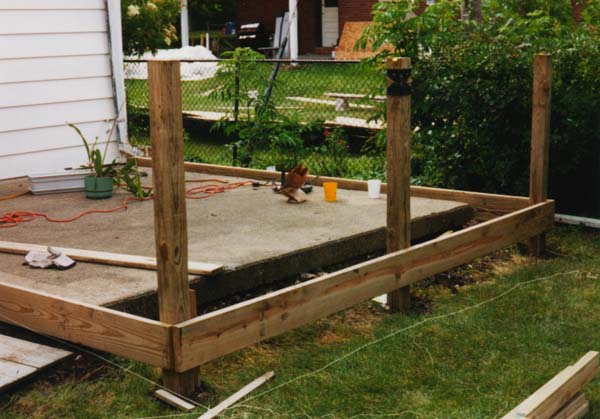
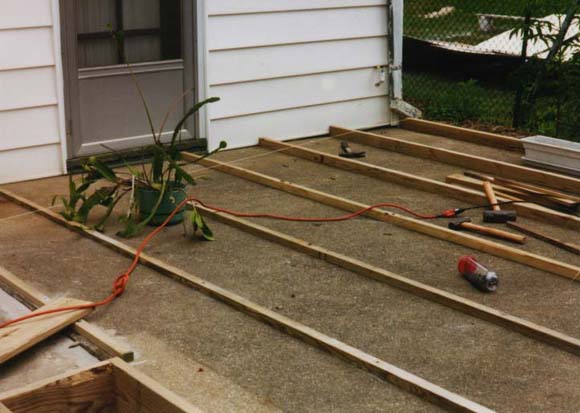
| Taken sometime early on day two, these two show the support posts in place, and some of the rim joists done. |
|
| The unevenness of the slabs made it quite a pain to get everything level in the substructure. This picture shows how each long joist varies in height, and how they all differ from each other. | |
|
| Each long joist had to be shot-nailed and/or drilled and screwed to the slab. Which technique was used depended on such random factors as the thickness of the board, the hardness of the slab (which seemed to vary in different places) and whether we happened to hit a rock during drilling. | |
|
| We both felt like this after the two days it took to put together the substructure. The unevenness of the slabs made for lots of measuring, careful cutting, and re-cutting of all these joists and cross-braces. | |
|
|
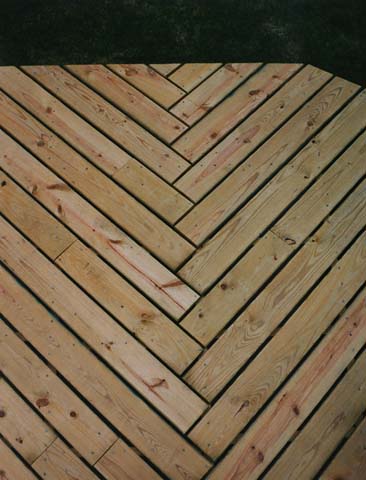
| Here's the pattern we decided on for the deck boards. It was a joint effort among me, LG, and my dad. We put a little bit of extra bracing underneath the tiny piece at the edge. It supports my weight all by itself, although I don't tempt fate by jumping up and down on it. |
|
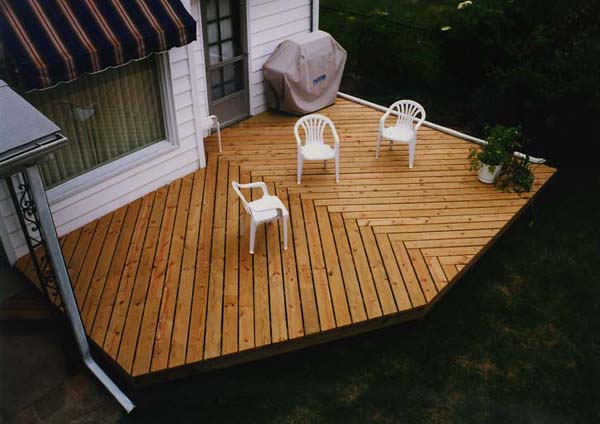
| Aerial view of the finished project. | |
|
| I built a little box step to fit in the corner near the kitchen door. The width of the span across the front of the step is 37 inches. What can I say, I couldn't resist. | |